Cinematic tutorial Blender 4.0 – 2h 30 min
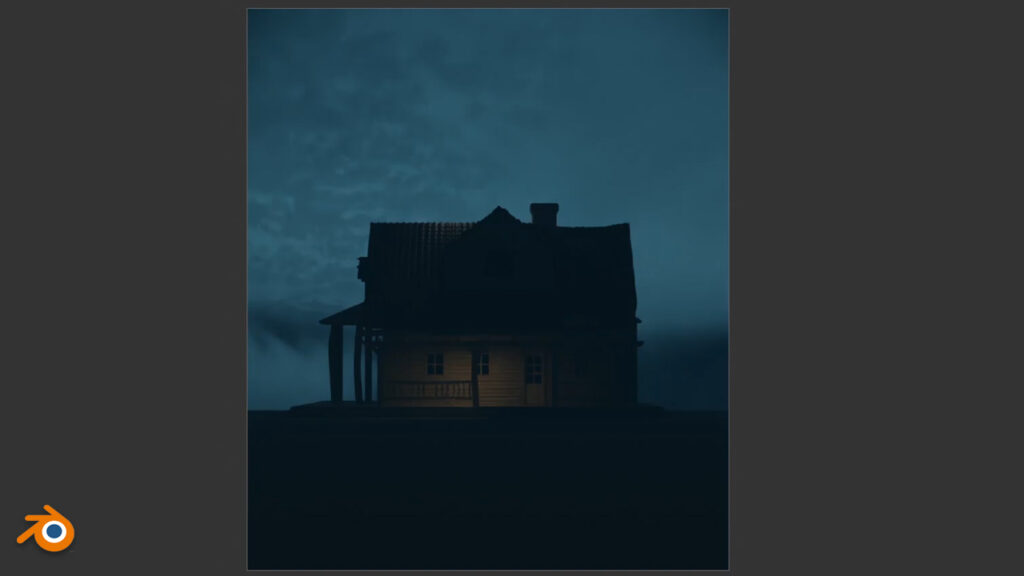
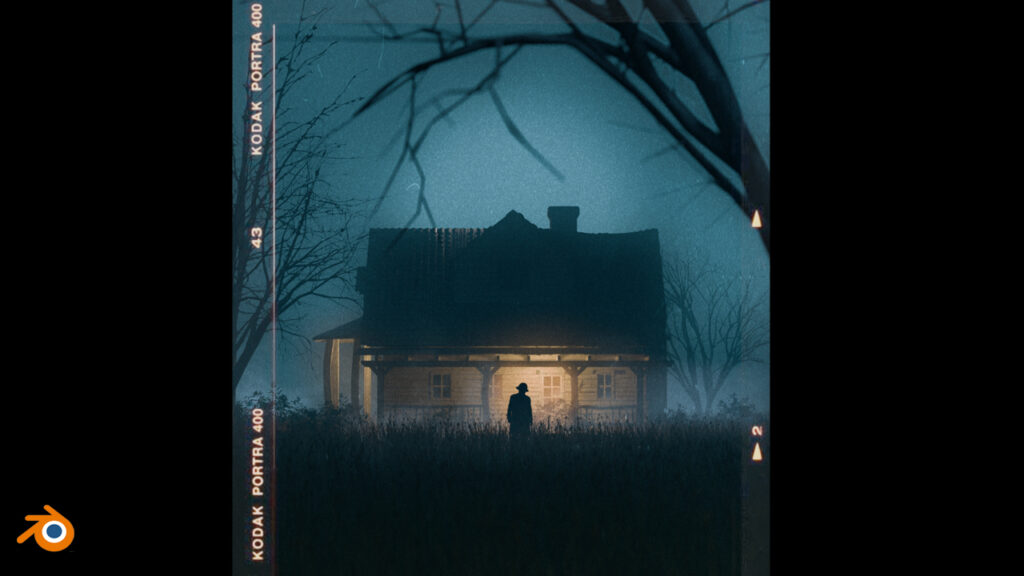
In this 2.5-hour-long tutorial, we will create cinematic art from the introduction completely in a blender from start to finish. This is the workflow that I have learned in the last 6 years of using Blender.
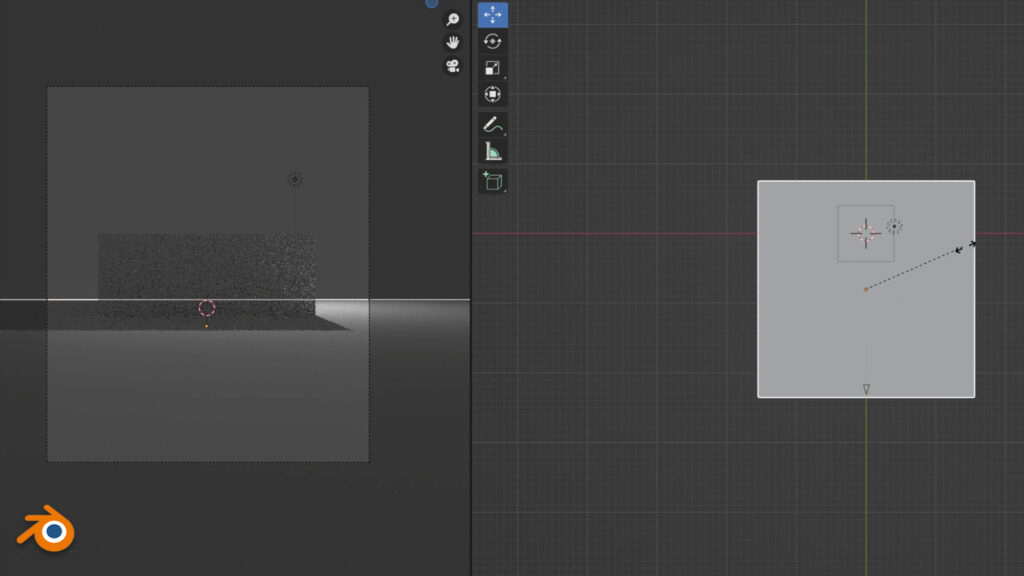
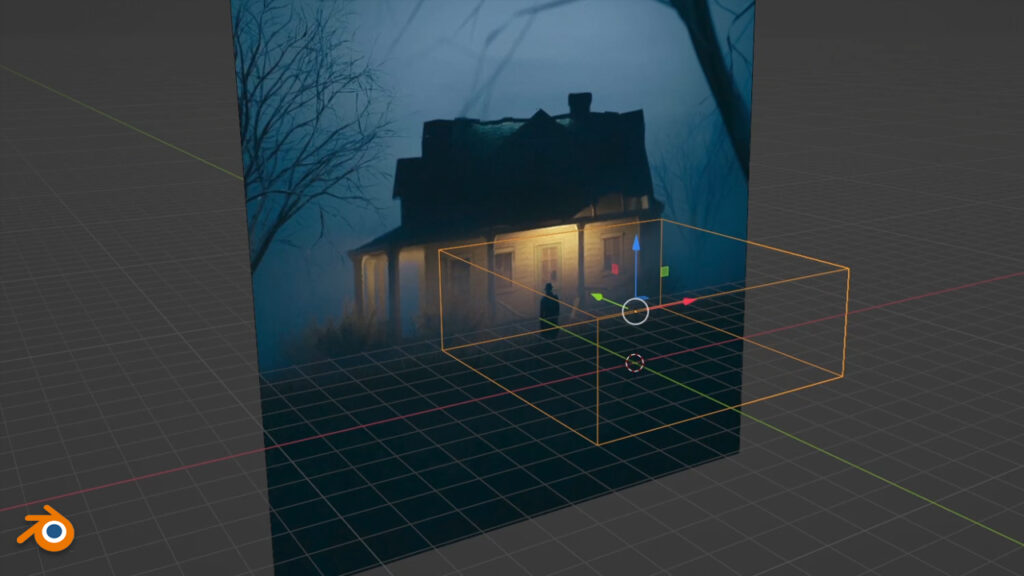
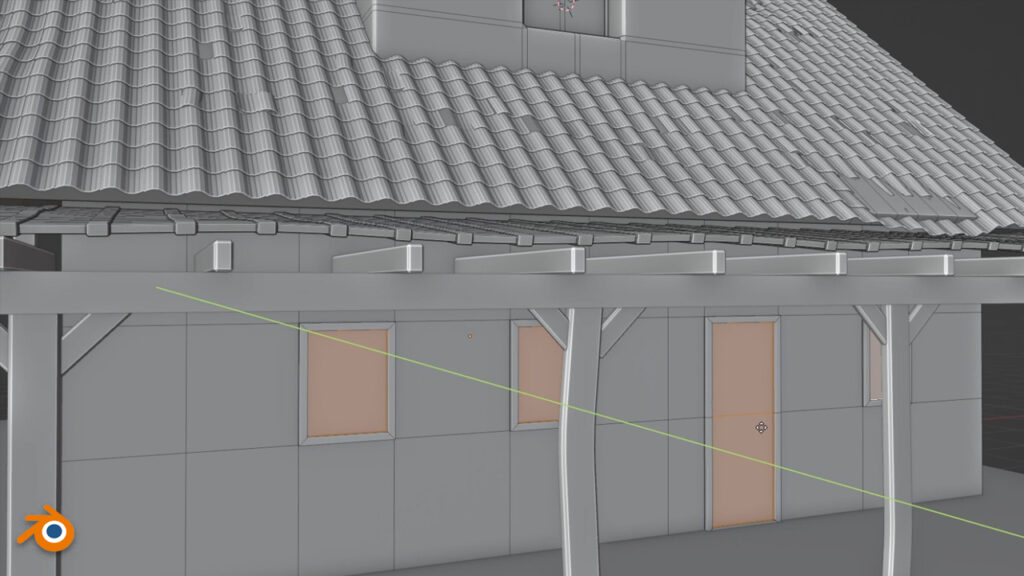
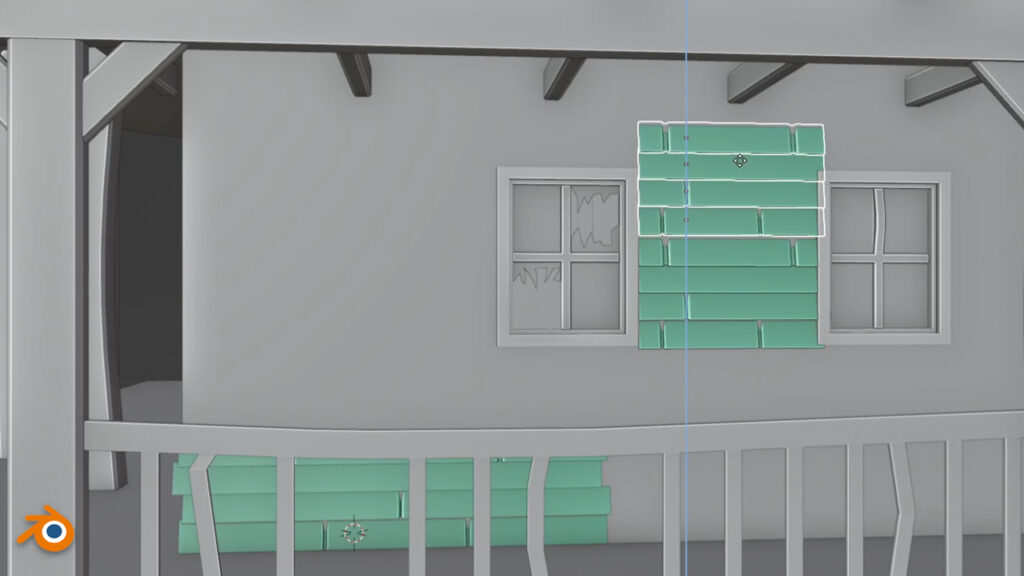
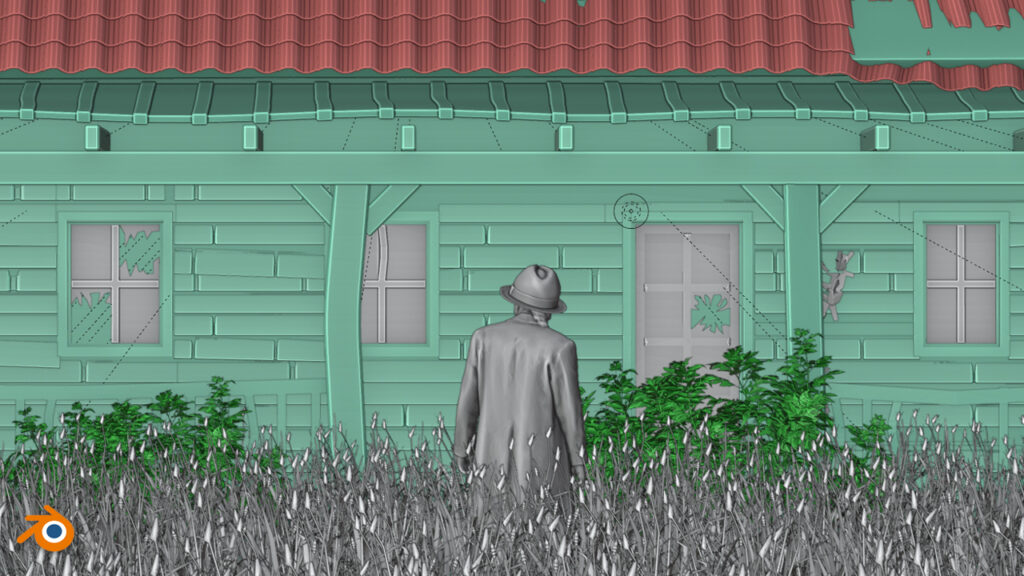
In the first part of the tutorial, we will talk about setting the scene and camera settings. After that, we will start modeling and texturing the abandoned house. In about an hour, we will model the house from the reference photo.
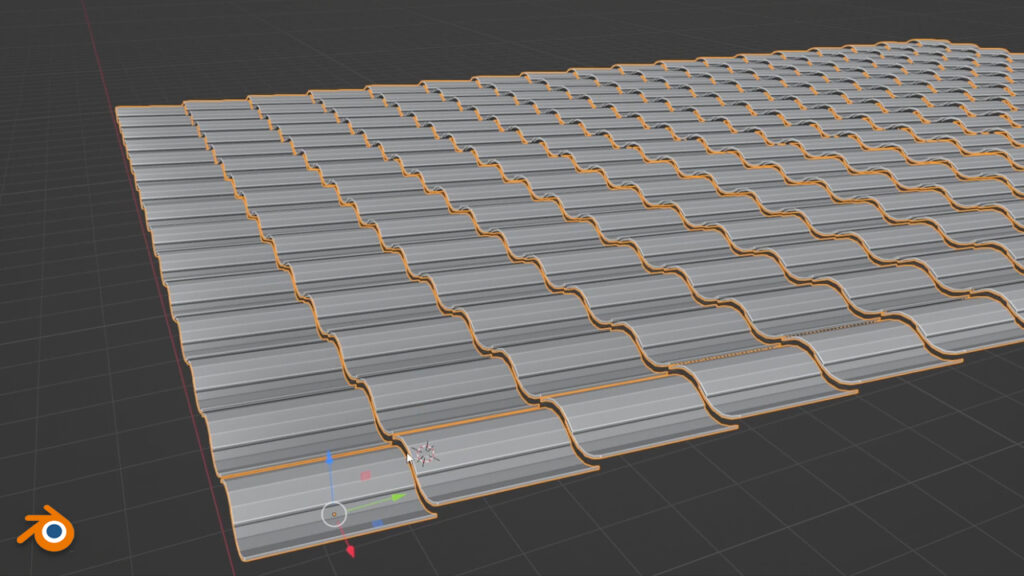
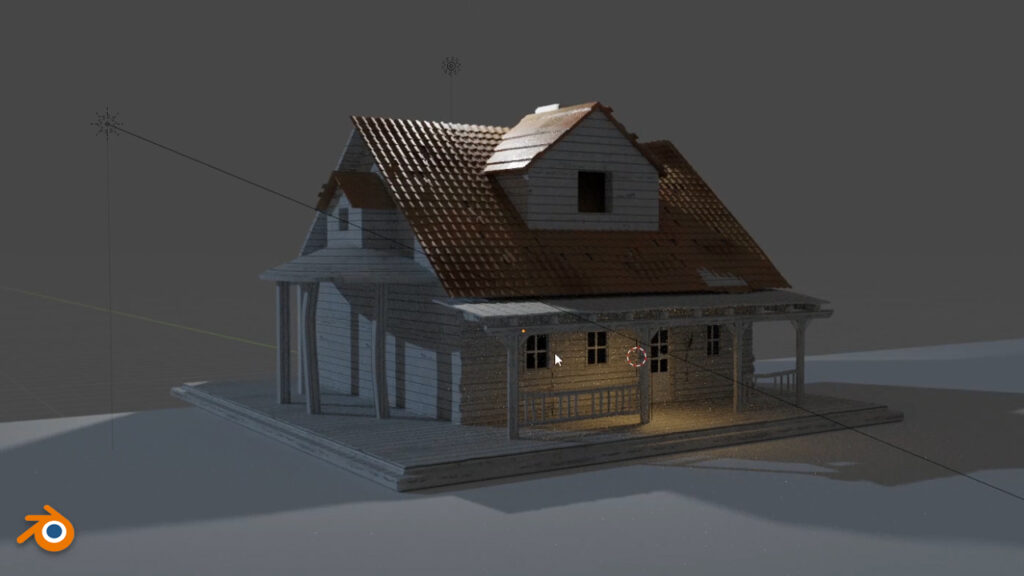
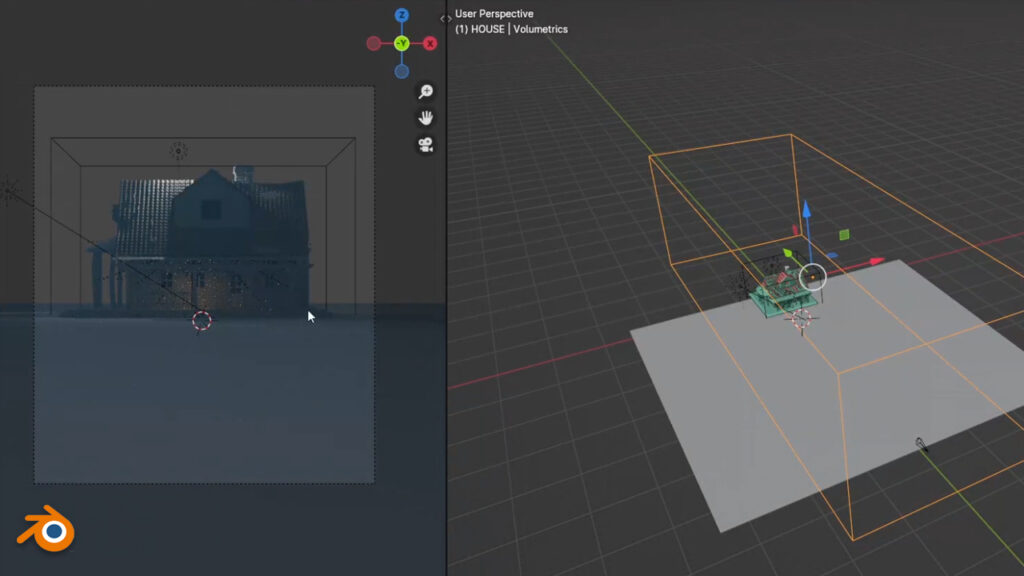
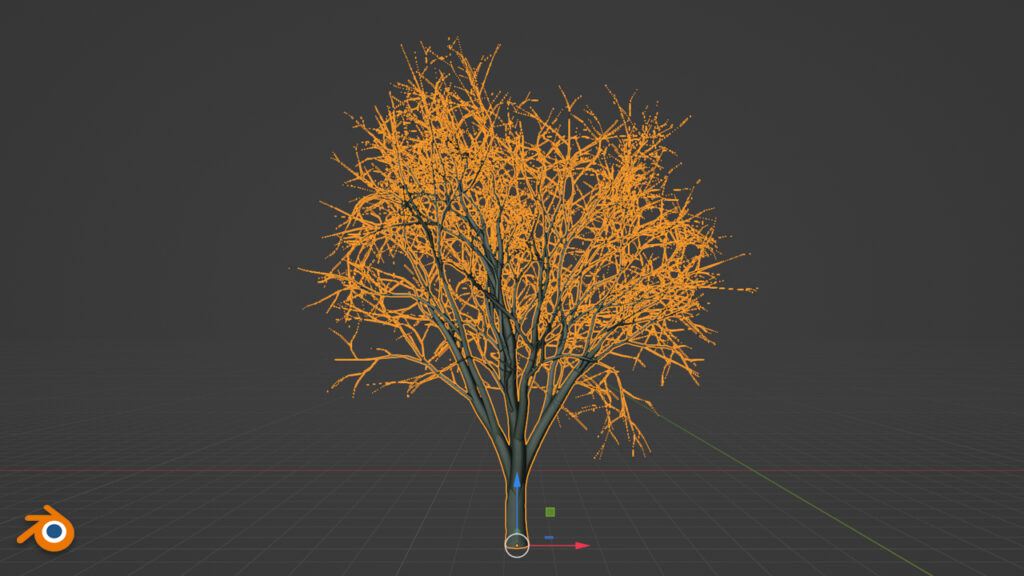
I will explain to you how to speed up the modeling process with the help of shortcut keys and modifiers and how to make the low-poly model look detailed in the camera. I’ll show you how to achieve a cinematic misty look using volumetrics, where to find good free models how to create materials, and more.
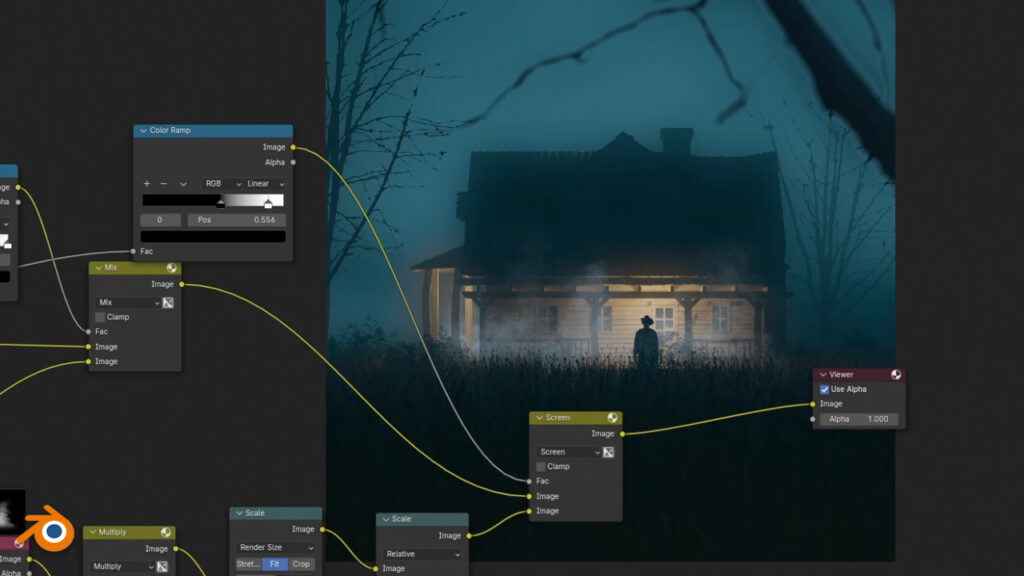
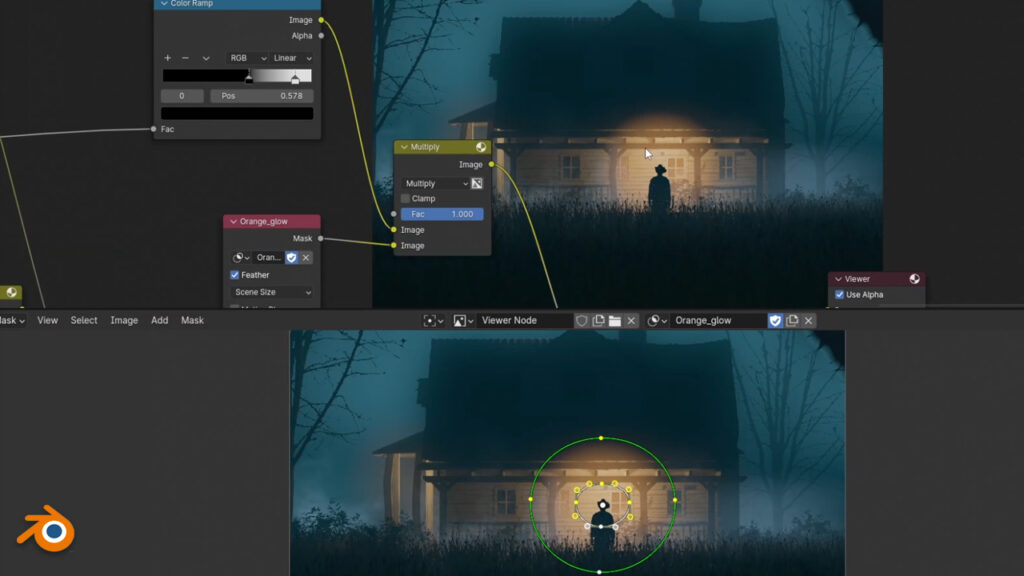
In the last part of the tutorial, lasting 40 minutes and divided into 4 parts, we will talk in detail about the blender compositor.
Post-processing will be done entirely in a blender without using other programs.
The entire process of creating a scene is recorded step-by-step, so the tutorial is easy to follow even for beginners.

The tutorial is separated into 17 parts with an average duration of 10 minutes to make it easier to follow.
All resources and links are included in the tutorial, and subtitles with shortcuts are also available. A final blender file is also included.
Language: English + subtitles Duration: 2.5 hours Video resolution of the tutorial: 2k All resources and links are included